
Dental photography is now an important tool for documenting clinical work, monitoring how a treatment progresses and improving communication with the patient, the dental laboratory and the other professionals involved.
Proper photographic documentation can also matter from a medico-legal point of view, helping to record the patient's clinical situation over time and the different stages of the treatment pathway.
Taking a good dental photograph, however, is not simply a matter of using a quality camera and pressing the shutter button.
Camera body, lens, lighting, settings, focus, framing and file management all contribute to the final result. Above all, in clinical photography it is essential to obtain images that are consistent and repeatable over time, following a genuine photographic protocol.
In this guide we look at the main elements you need to know to get started with dental photography, each of which we will explore in detail in upcoming articles.
What is dental photography for?
A clinical photograph can serve several purposes within a dental practice.
It can be used to document the patient's initial situation, compare the different stages of a treatment, present a clinical case, share information with the dental laboratory or explain a specific situation to the patient more clearly.
Photography therefore becomes part of a true clinical documentation process.
Well-organised photographic documentation can also be useful from a medico-legal perspective, because it preserves a visual record of the clinical situation and how it evolves over time, complementing the other information in the patient's records.
This is why a technically beautiful image is not necessarily a good clinical photograph. To be genuinely useful, it must correctly show what we want to document and, when needed, be comparable with images taken at different times.
This leads to one of the fundamental principles of dental photography: following a precise, repeatable photographic protocol.
Camera body: DSLR or mirrorless?
The first element of the photographic system is, of course, the camera.
Today it is possible to achieve professional results with both DSLR and mirrorless systems. Technology has changed a great deal over the years, but in dental photography the camera body is only one part of the system.
The quality and consistency of the images depend on the interaction between:
- camera;
- lens;
- lighting system;
- shooting settings;
- operator technique.
Rather than focusing solely on the camera model, it is therefore important to build a photographic system suited to clinical documentation.
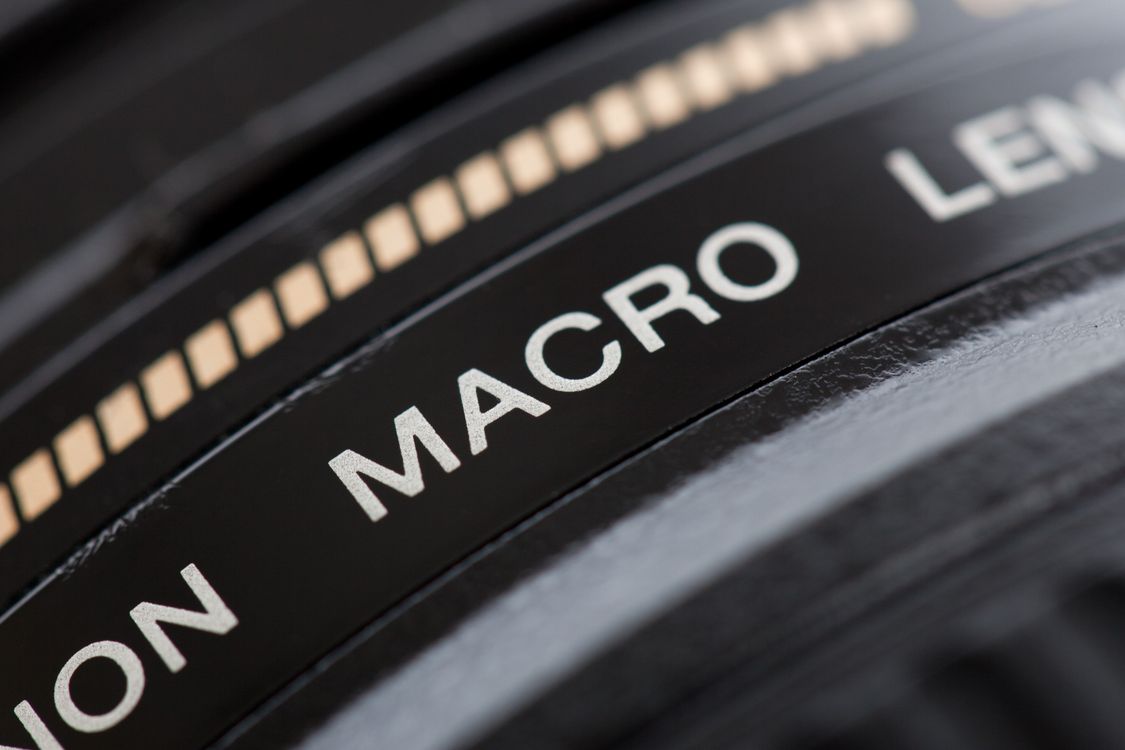
The importance of the macro lens
In dental photography the lens plays a fundamental role.
To correctly photograph teeth, tissues and very small details, macro lenses are generally used: they are designed to work at close distances while maintaining a high reproduction capability.
One concept we will encounter often is the reproduction ratio, that is, the ratio between the real size of the subject and the size at which it is projected onto the sensor.
Focal length also affects working distance, framing and the way the subject is rendered.
The choice of lens should therefore depend not only on its quality, but on the type of photograph we want to take and the photographic system being used.
Why is the flash so important in dental photography?
The ambient light in a practice is not normally enough on its own to guarantee consistent, easily reproducible clinical images.
This is why the flash is one of the central elements of dental photography.
A controlled light source makes it possible to work more consistently and to better manage exposure, shadows, reflections and the perception of volume.
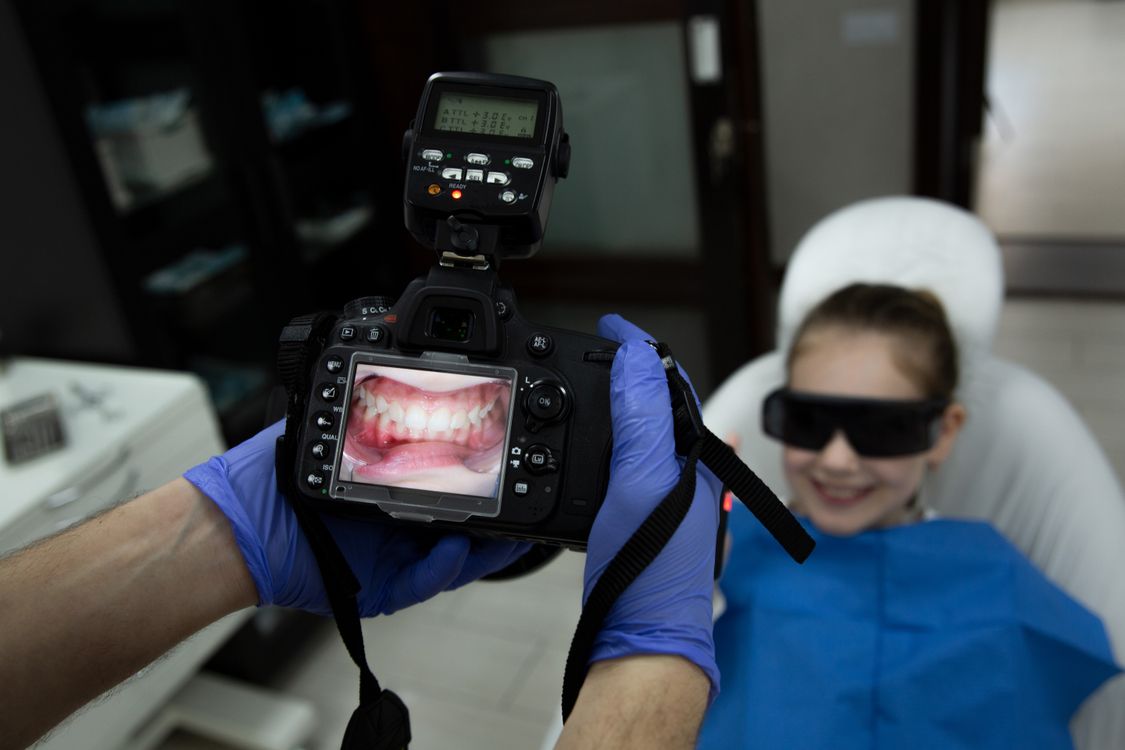
The ring flash, mounted around the lens, provides even illumination and is widely used in intraoral photography.
Twin flash systems, on the other hand, use two light sources usually positioned on either side of the lens, offering greater control over the direction of light and shadows.
There are also more elaborate set-ups with external flashes, diffusers and light modifiers.
There is no system that is universally better in every situation: the choice depends on the type of photograph, the desired result and the workflow being used.
The exposure triangle: ISO, aperture and shutter speed
To truly use a camera in manual mode, you need to understand at least the basic principles of the exposure triangle.
ISO
It determines the sensitivity used to record the image. Raising the ISO produces a brighter image, but can affect image quality by increasing digital noise.
Aperture
It controls the amount of light passing through the lens but, especially in dental photography, it affects the depth of field, that is, the extent of the area perceived as sharp.
Shutter speed
It determines how long the sensor is exposed to light and must be managed correctly, also in relation to the use of the flash.
These three parameters are interconnected.
In clinical photography, however, they are not used mainly for creative effects: they are managed to obtain images that are sharp, correctly exposed and repeatable within your own photographic protocol.
Focus and depth of field
When photographing a subject very close to the camera, managing focus becomes particularly important.
Depth of field determines how much space in front of and behind the point of focus will be sufficiently sharp.
In intraoral photography it may be necessary to show several elements of the arch at once, while in other situations attention may be focused on a specific detail.
Aperture, distance from the subject, magnification ratio and point of focus therefore all interact.
Understanding this relationship helps avoid photographs in which only a small part of the clinically relevant area is actually sharp.
White balance and colour management
In traditional photography, colour can also be used creatively. In dental photography, by contrast, it is important to keep the rendering as consistent as possible.
White balance allows the camera to correctly interpret the colour temperature of the light being used.
Uncontrolled colour management can produce images that are too warm, too cold or marked by colour casts.
This becomes particularly important when photographs are used to communicate with the dental laboratory or to document aesthetic treatments.
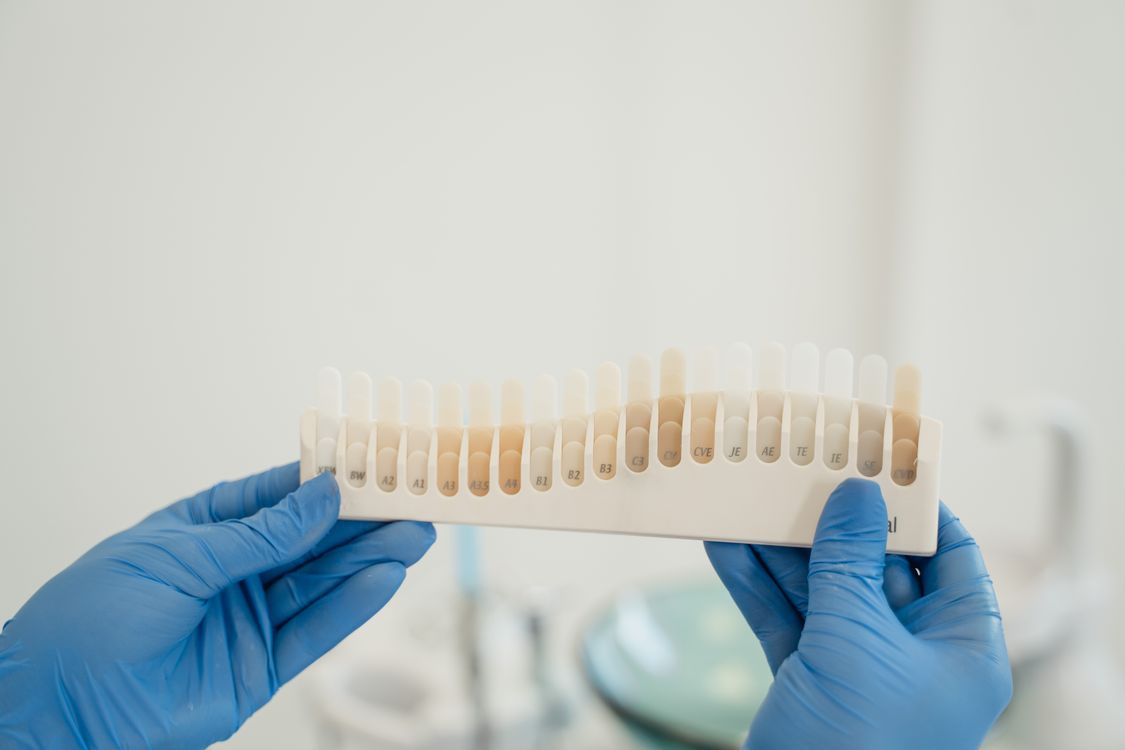
Colour management, however, does not depend on a single parameter: lighting, camera settings, file format, monitor and post-production are all part of the same workflow.
The photographic protocol: consistency and repeatability
One of the most important aspects of dental photography is also one of the easiest to underestimate.
If we photograph the same patient before and after a treatment using completely different distances, angles and magnifications, the comparison between the images loses part of its effectiveness.
This is why it is useful to define a genuine dental photography protocol: a set of criteria and procedures to be repeated consistently when capturing images.
The protocol can define elements such as:
- patient position;
- camera position;
- distance;
- angle;
- magnification ratio;
- exposure;
- lighting;
- image composition;
- type and sequence of shots.
The goal is to ensure that photographs taken at different times can genuinely be compared with one another.
A well-structured photographic protocol therefore improves not only image quality, but also their value as a tool for clinical documentation, communication and recording how the case evolves.
Mirrors, retractors and contrasters
Camera, macro lens and flash are not the only tools involved.
Intraoral photography also relies on various dental photography accessories.
Retractors improve the visibility of the arches and tissues, while intraoral mirrors make it possible to capture viewpoints that would be difficult to photograph directly.
Contrasters can be used to visually isolate certain elements, especially when photographing the anterior region.
Even seemingly simple tools can therefore have a significant impact on the quality and readability of the final photograph.
RAW or JPEG? The file format
Once the shutter button is pressed, the photograph has to be recorded by the camera.
The two best-known formats are JPEG and RAW.
JPEG produces a file already processed and compressed by the camera, generally lighter and ready to use.
RAW, by contrast, retains more of the information recorded by the sensor and offers greater room for adjustment during development and post-production.
This, however, means heavier files and the need for a dedicated workflow.
The choice between RAW and JPEG therefore depends on the needs of the practice, the type of photography and how the images will subsequently be managed.
When photographs are part of the documentation of a clinical case, it also becomes important to adopt an orderly system for archiving and preserving original files, keeping any later processed versions clearly separate.
Post-production in dental photography
Taking the shot is only one part of the process.
Proper photographic post-production can work on elements such as exposure, white balance, contrast, cropping and the overall consistency of the images.
In clinical photography, however, post-production must be used with particular care.
The aim should not be to artificially transform what was photographed, but to obtain a clean, consistent and clearly readable image, without altering clinically relevant information.
It is therefore important to develop a workflow that allows selection, editing, export and archiving of photographs to be handled in an orderly way, preserving the original file where necessary.
When images concern patients, their capture, use, storage and sharing must also be handled in line with the practice's procedures, patient confidentiality and applicable regulations.
Photographing well means building a protocol
No single setting, lens or flash can on its own produce a good dental photograph.
The result comes from combining several elements: equipment, light, exposure, focus, colour, framing and method.
It is precisely the combination of these elements within a consistent, repeatable photographic protocol that turns the camera into a tool truly integrated into the practice's workflow.
An effective protocol makes photographs easier to compare, improves case documentation and, over time, builds a more orderly visual archive that is useful clinically and, when needed, for documentation and medico-legal purposes.
In upcoming insights we will look at each of these aspects in turn, from choosing equipment to camera settings, flash systems, intraoral photography techniques and file management.